Friday, February 28, 2014

Levitation

Today in class we will work on our Triptych and Levitation projects. 


Next project, Levitation!


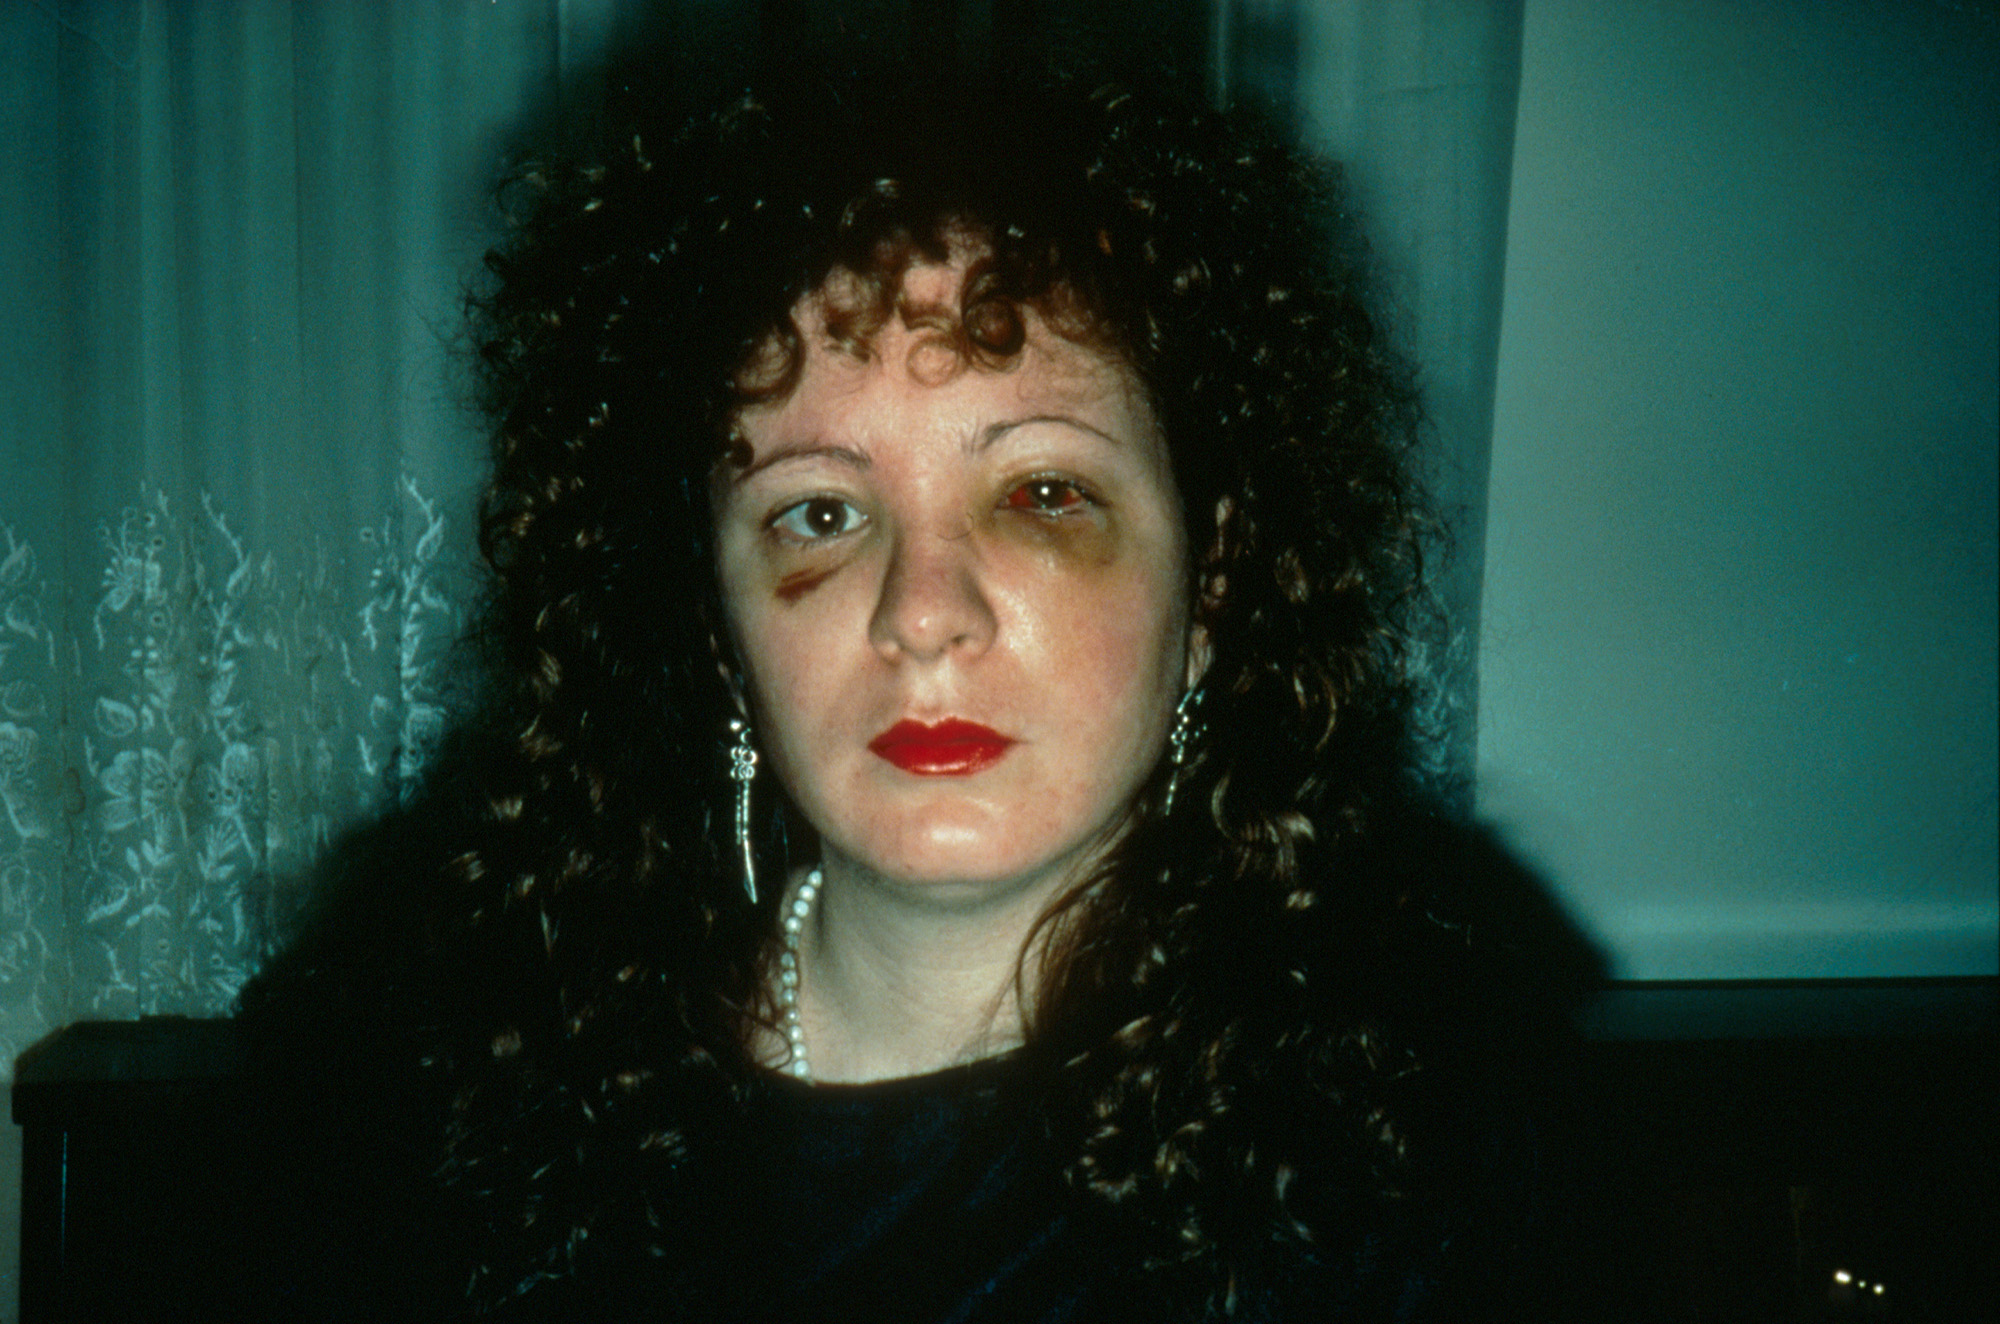
Example of historical levitation photography

Remember, photographers have been manipulating images long before photoshop!

Falling Teacher

Now that we have each made one Levitation image in class, and each of you is now a pro... For the next assignment, you will create 3 amazing Levitation images! Using either yourself or a model for the image. (It must contain a person)

  • Think about the story you will try to tell. Consider the background, lighting, color, costume, hair, props, and accessories... I want an AWESOME ONE!
      • In class, we did a quick and dirty method with the Eraser tool for the weekly assignment. But for the AWESOME ones, I would like you to use the method I have listed below. (scroll to bottom of post)
Here are some helpful links for inspiration and tutorials:

Here are two really great tutorials, that go a little more in depth.
*using Selections: http://youtu.be/ZM0dc9qix9Y
  • He demonstrates syncing photos using Camera Raw in Adobe Bridge. You will be doing this in Lightroom. You can skip to 1:40.
* using Layer Masks: http://youtu.be/HprleMPd1WY

Inspiration Images/Links:


Student Example

Student Example


Assignment for this week: "Levitation"


  • I want you to upload the Levitation image to your blog that we did in class. Title your post: Levitation - Class.
  1. For the AWESOME assignment, You will take a minimum of two photographs for each image. One of the empty scene and one with you "levitating."
  2. Locate your images. 
    • Process in Lightroom. (make sure color/exposure/density is the same!)
      • "Sync" photos.
  3. Open both images in Photoshop.
    • Locate your empty scene image. Hit (Command)⌘A to select all, and then ⌘C to copy. Locate your Levitating image and ⌘V to paste.
  4. In the Layers Palette, make sure the empty scene is selected. Drag this layer onto the layer mask icon to create a layer mask.
5. It should now look like this: 

6. Hit ⌘I to invert the layer. Your screen should now look like this:


7. Select your brush tool (B) and make sure that your painting with white. Using 100% opacity, paint out the object to erase from view. 
  • As you get closer to your body, you can lower the brush hardness, as well as the opacity and flow. This will allow for a cleaner erase and a more realistic "Levitation."

    1.  When finished, save one copy with the layers as a PSD. This is a working file for your records, in case you want to go in and change anything later. 
      • Now go to Layer -- and Flatten Image.
        • Save this copy as a TIFF (for print) and as a JPEG, to upload to blog.
  1. Lastly, upload the In Class Assignment to your blog no later than before class on 3/7. 
  2. The 3 images for your AWESOME Weekly assignment, will be due March 21. Please post to the blog BEFORE class, and bring your files / cameras with you to class. We will learn to print.

This week in DFW ArtNews

Val Curry "Universe"
Val Curry, Dissolution (detail), 2012, found objects and toys, paint, resin

An opening reception with the artist 
will be held Saturday, March 15, 2014 from 5:30 to 7:30pm 
at The McKinney Avenue Contemporary, located at 3120 McKinney Avenue, 
in the Uptown District of Dallas. 


Exhibition will be on view through May 3, 2014. 

The MAC is pleased to announce Universe, a solo exhibition by multidisciplinary artist Val Curry. The sculptures of Universe are expressed through the iconic image of the spiral, both metaphoric and reflected in the natural world. Constructed of accumulated waste from Curry's environment, the spiral sculptures are in essence playful yet stern in their message. Curry's mission is to bring practical idealism to his art practice and to share that message with others through unique work and teaching experiences. Universe investigates how consumerism, which is inextricably linked with waste, can be factored into a fanciful notion of organic nature and the cosmos.

Curry is currently pursuing an MFA at University of Texas, Dallas in the Arts and Technology Program. In 2012, Curry was an artist in residence at the UT Dallas CentralTrak Artist Residency Program. He received his BFA in Sculpture from Texas A&M University-Commerce in 2011. Curry studied under Plush Gallery director, Randall Garrett, while attending Richland Community College before entering TAMU-Commerce. 

________________________________________________________________________________________

Check out this write up in Glasstire which features an interview with faculty member Paul Bryan.
http://glasstire.com/2014/02/24/morals-clause-believe-it-anyway-at-mckinney-avenue-contemporary-2/
_______________________________________________________________________________________

weputthis_____oneverythingandyoushouldtoo.jpg.


New photography exhibit featuring a collective of photographers from the DFW area. Featuring UNT faculty member Kathy Lovas and current / former UNT students: Lynne Bowman, Ben Davis, Zackariah Hamze, Patrick O'Neill, Derek Rankins, Rachel Rushing, Elva Salinas, and Longhui Zhang. 


*Please note, the Reception is Saturday, March 1 from 6 pm– 9 pm*

Mokah Art Gallery
2803 Taylor St.
Dallas, TX 75226
214-651-0633

January 25 – March 1, 2014

Gallery Hours:
9 a.m. – 5 p.m. M-F or by appointment

Triptych

Symmetry


Today's Example


Student Example
Today we will work on our Triptych project. For this assignment, we will see just how symmetrical we are. 


  • Here is a video tutorial for your reference.

http://vimeo.com/75615990
  1. Locate your portraits. 
    • Process portrait in Lightroom. (color, exposure, crop.)
      • They can be square or rectangles.
  2. Make mirrored portraits in Photoshop, via the tutorial.
    • You should have a left mirrored portrait and a right mirrored portrait. 
  3. Place the left, the original, and the right portrait onto a single canvas in Photoshop. (in that order)
    1.  Make sure to have an even border all around your images. 
      • Save as a PSD, a TIFF, and a JPEG.
        • (I saved it as a TIF in the tutorial. Save a flat version to upload as a jpg.)
        • File name 
  4. Upload to your blog no later than before midnight on Monday 3/3. 
NOTE: If you were not in class today, please follow along with the tutorial and post to your blog. 
_______________________________________________________________________________________

If you feel really confident about mirroring and flipping images, you can take it a step further...

From a normal, original image...

Original Image

To a kaleidoscope effect!

Wednesday, February 26, 2014

Friday 2/21

2014 Joyce Elaine Grant Exhibition at Texas Woman's University, Denton, TX

Today in class we took a more in depth look at the Exhibition Opportunities assignment. 

  • By April 25th, you will need to have applied to two art exhibition or art opportunities.

  • On April 24th you will submit documentation of these submissions which can be:
    • * application materials
    • * emailed receipt from online application
    • * email notification of online application
    • * list of information of where the work was sent and details of what was sent
  • Bring me a physical printed copy of this information

Some resources to look for art opportunities:

* College Art Association http://www.collegeart.org/opportunities/
  Call for Entry: https://www.callforentry.org/
  Springboard for the Arts http://www.springboardforthearts.org/Jobs/Jobs.asp
* Society for Photographic Education: http://www.spenational.org/
  Art Deadlines: http://www.artdeadlines.com
  Artist Residency Database: http://www.resartis.org/

Most States and Cities have Arts Organizations that post grants/jobs/public art and
exhibition opportunities for artists. Many of these will be for state residences
only but some opportunities will be nationwide as well.

Texas Commission on the arts: http://www.arts.state.tx.us/

Some North Texas agencies:
  - Denton Arts Council: http://dentonarts.com/
  - Texas Visual Arts Association (based out of Dallas): http://tvaa.org/


_________________________________________________________________________________

We then reviewed basic color corrections and editing in Lightroom, how to export images, and the basic overview of Photoshop tools and layers. And then we had a mini session on how to use the Canon Rebel.
_________________________________________________________________________________

Assignment:

Portrait of Self, Portrait of Others
  • Please process your portrait images in Lightroom in post them to your blog by Friday, Feb 28. 
    • White Balance, Color, Exposure, etc
      • Note: There should be 5 images total. 1 Self-Portrait, 1 Portrait of another person, and the other 3 are your choice. (any combination of self portraits, or other people.)
Framed Assignment:
  • This is the collage / layers assignment featuring one stationary object photographed from as many different angles as possible to create many interesting and unique images. Scroll down the blog to watch the tutorial posted last week for a refresher.
    • Images should be processed in Lightroom. And the collage created in Photoshop.
      • Note: There should be between 15-25 images used. It may be vertical or horizontal. Images can touch or have an even white border around each image.
  • Please post to your blog by March 7. 

Please bring your cameras to class on Friday, Feb 28. We will have an in-class shooting project.


Friday, February 21, 2014

Canon Rebel

Canon Rebel Quick Reference Sheets


Upcoming Art Opportunities

Lot's of exciting things happening. Check 'em out!


Elizabeth Mellot


Identity, 2012
 Elizabeth Mellott 
Remnant 
February 18 – March 7, 2014 
Opening Reception: 
Tuesday, February 18, 5:00-7:00 p.m
Gallery Hours: Monday-Friday, 1:00 – 5:00 pm 
By Appointment: 903.886.5208 


Josephine Durkin


And... She will be jurying for the dallas Contemporary's tumblr page. Make sure to submit!


Sheryl David


www.sheryldavid.com

February 2-28, 2014 

Closing Reception: February 22, 2-4pm 

Gallery Hours:
Tuesday, Wednesday, Friday, & Saturday: 10am-5pm
Thursday: 12-8pm
Sunday: 1-5pm


TWU Photography alumni Sheryl David will have a solo exhibition of her series Coalescence at the Lillian Bradshaw Gallery at the Dallas Public Library's central branch. Coalescence explores issues of identity, communication, relationships and intimacy. The series derived from an interest in investigating the transformation that results from overcoming perceptions of inadequacy within the self. Skin and gesture communicate a shared vulnerability and growth as the two figures become one throughout the series. The incorporation of hair, acts as a personal and universal symbol of identity. Crochet forms demonstrate the strength and malleability of hair, which reflect a sense of growth and transformation. The images were photographed with a Holga and instant film back allowing for soft focus and vignette to invite the viewer to witness the evolution from fear to connection within a relationship.


Erin Grace Trieb


Friday, February 14, 2014

Friday 2/14 "Framed"

Partitioning a Hard-Drive: Sharing between a Mac and a PC


Cheatsheets: 
You can print these out for your reference.


PHOTOSHOP:
In case you haven't guessed, we are going to start working with Photoshop now. The first two mini projects will deal with working with layers in Photoshop.


Photoshop Basics Tutorial

This video is a bit on the cheesy side, but it will give you a run down of most of the basic tools and features in CS6.
  • Many of the options being shown are more advanced and we will not get to them until later in the semester. But it is good to know that they exist and where they are.

Project 1: Framed Assignment "How to See"


For this project we are going to choose 1 stationary object and photograph it as many DIFFERENT ways as possible. Think about the framing techniques we talked about in class. Getting closer, Further Away, Ants eye view, Birds eye view, etc.

We are going to work with composition. Filling the edges of the frame. No cropping!

Tip: Find an object that is stationary. Not a person or an animal. It's better if it is permanently seated in that place, or you can tape where it was to mark it's spot if you decide to go back and reshoot. 

We will process our images in Lightroom and then bring them into Photoshop. Here is a video I made showing you how to do this. 


WATCH THE VIDEO!


Upload to your blog no later than before class on 2/21. 

EDIT: You should have between 15 and 25 images for the collage. Images can be vertical, horizontal, or squares. They can also be touching. Meaning, you do not have to have a border.

If you fee very confident with your Collage skills, try this out!


**BONUS** Project 2: Symmetry Triptych and Tutorial:
How symmetrical are you? Today we will find out.


  • I want you to watch the video tutorial


  1. Take a self portrait or have someone take your picture (headshot) straight on against a white wall. Try to stand up straight and be relatively expressionless.
    • Process portrait in Lightroom. (color, exposure, crop.)
      • Either crop into a rectangle or square.
  2. Make mirrored portraits in Photoshop, via the tutorial.
    • You should have a left mirrored portrait and a right mirrored portrait. 
  3. Place the original, the right, and the left portrait onto a single canvas in Photoshop. (in any order)
    1.  Make sure to have an even border all around your images. 
      • Save as a PSD, TIF, and as a JPEG.
        • (I saved it as a TIF in the tutorial. Save the final to upload as a jpg.)
        • File name 
  4. Upload to your blog no later than before class on 2/21. 
      1. We will also work on these in class for those that found this too confusing.
Next week:
We will talk review making contact sheets and review Photoshop. We will talk about the Exhibition Opportunities project. We will have a demo on the Canon Rebels. And we will have an in-class shooting assignment. We will learn how to do Levitation.


  • Please bring your cameras!

Friday, February 7, 2014

Campus Closed // Portraits

Hello Class:

As you have heard, the campus was closed today. Your assignment for the week will be to due the following things to prepare us for next week:


Portraits of Self, Portraits of Others


Emmit Gowin

Today, in class, we were going to talk about Portraiture. I was going to show you some great portrait artists and then we were going get into groups and start to photograph one another. 

Finding Vivian Maier, trailer

Richard Avedon, "Darkness and Light"

I would like for you to watch the Vivian Maier trailer video and also this video on Richard Avedon. We were going to watch both in class today. The Avedon video is a bit long; I was only going to show the first 30 minutes or so. (But you are welcome to watch it in it's entirety. It's quite good.)

Your project for the week is: 
  • Find five great portrait photographers online. I want you to tell me who took the pictures and why you like the images, and then add them to your blog in one post before next class. 
    • (So: An image of theirs. Their name. And what you like about the picture / why you chose them.)
        • I've included some photographers to look at for inspiration at the bottom of the post.
  • Your goal for the week is to make is to make great portraits of other people and also yourself. The photograph needs to be strong compositionally, be interesting to look at, and should tell us something about the person being photographed. A pretty tall order... sounds a lot like a collaboration between the subject and the photographer to me... You should have at least 5 GREAT images. (At least 1 must be a self-portait.)

Make sure you bring your pictures with you to next class, on your hard drive. 
ALL OF THEM. We will work on basic image editing next week.

The following images were made by Edward Curtis, he is the fellow on the right with the fine hat and goatee. He started this project to record the way of life of the North American Indian in 1907, and made more than 40,000 images of them. You can see many of them at the Library of Congress.


Richard Avedon, Marian Anderson, 1955.


Richard Avedon, Marian Anderson, 1955. 

Diane Arbus, Boy with Handgrenade.(Left) Contact Sheet (Right)

Here is a great resource on contemporary intimate portraiture: http://www.americanphotomag.com/photo-gallery/2014/01/intimate-portraits?page=14


Elinor Carucci, Trying to protect Emmanuelle
Annie Liebovitz, Queen Elizabeth II
Nan Goldin, Battered
Ji Yeo